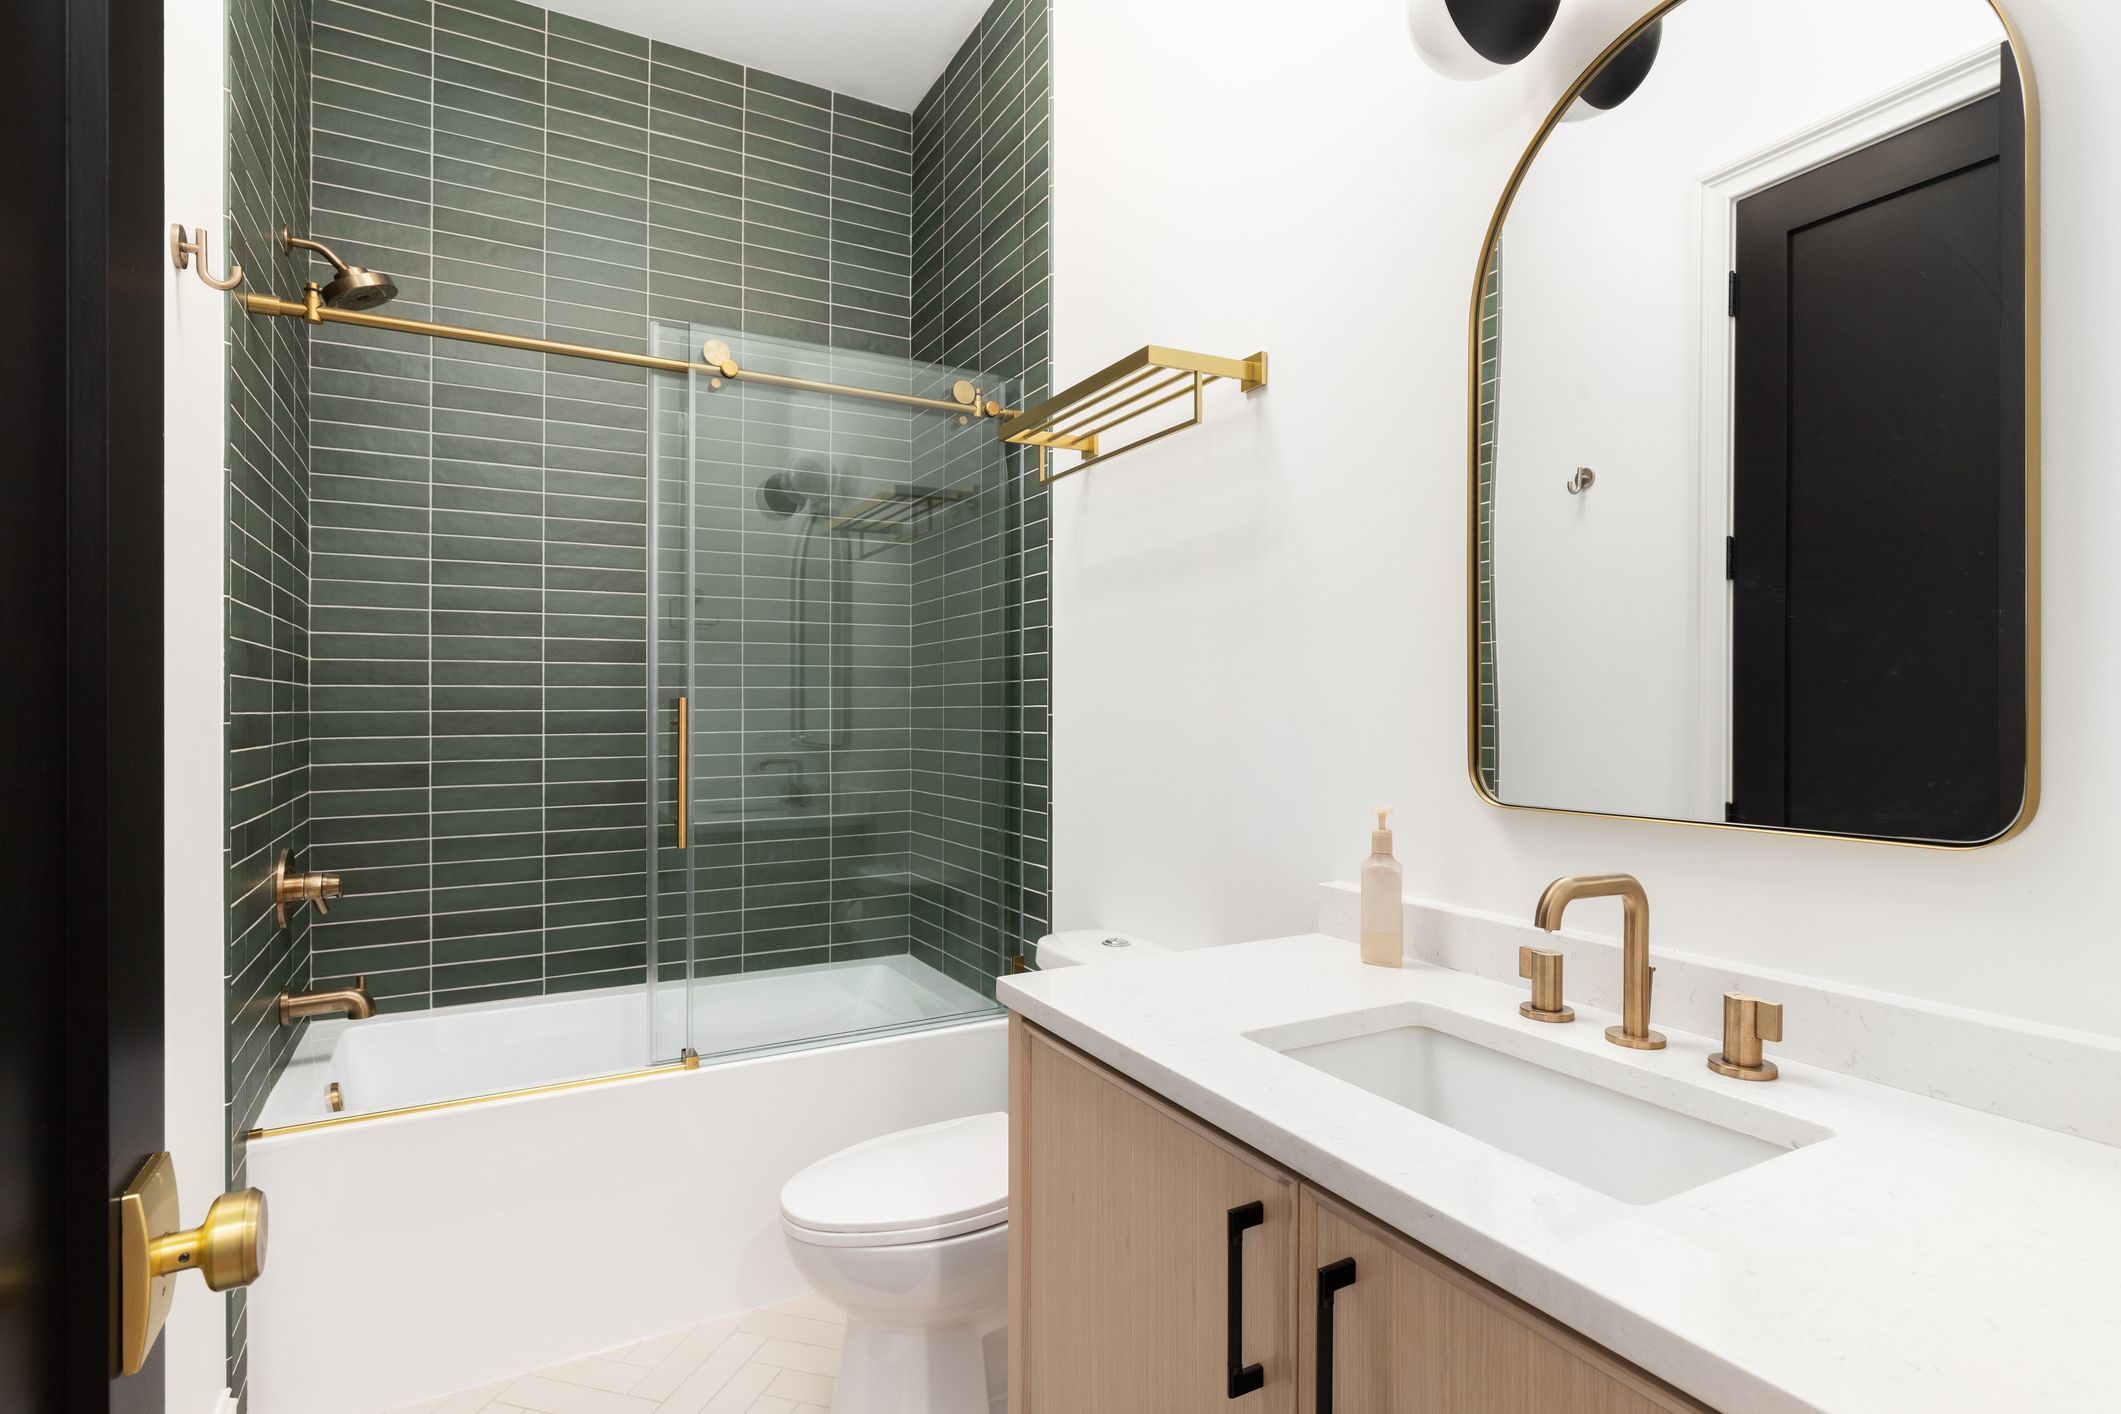
Kitchen & Bathroom Tiles with Waterproof Vinyl Wraps
April 14, 2025Why Consider Vinyl Wraps for Tiled Surfaces?
Tiling used to mean mess, noise, and extended downtime. Not anymore. With waterproof vinyl wraps, installers can:
Refresh tired surfaces in a matter of hours
Avoid construction waste and debris
Offer clients budget-friendly options with premium looks
Work cleanly in finished environments without damage
Clients love the no-hassle makeover. Installers love the speed and satisfaction of a job well done. And Cover Styl’s range is tailored to support that.
What Makes Vinyl Wraps a Strong Alternative?
Compared to traditional tile replacement, wraps have become an attractive alternative. Here’s why:
Cost-effective: There's no need to remove the tiles, hire demolition crews, or reapply grout.
Quick to apply: Most kitchen or bathroom applications take less than a day.
Minimal tools: A heat gun, cutter, squeegee, and your hands are enough.
Design flexibility: Clients can choose from stone, marble, concrete, wood, or colorful patterns without the permanence of real materials.
Wraps aren't just for cosmetics they’re functional too. High-end vinyl from Cover Styl resists humidity, splashes, and daily wear and tear. That makes it ideal for high-moisture zones like backsplashes, sink areas, and bathroom walls.
Ideal Applications in Kitchens and Bathrooms
Waterproof vinyl wraps can be applied over most smooth tile surfaces. Here are the most common (and profitable) use cases:
In Kitchens:
Splashbacks behind stovetops and sinks
Old tiled countertops
Vertical walls between upper and lower cabinetry
Island fronts and visible side panels
In Bathrooms:
Shower walls (outside direct water jets)
Bathtub surrounds
Sink backsplash areas
Full wall coverings for a complete refresh
With proper surface prep and edge sealing, vinyl can hold up beautifully even in semi-wet zones.
Application Steps: How to Wrap Tiles Like a Pro
Even the best wrap can fail if the prep is poor. To guarantee lasting adhesion and a clean finish, follow this approach:
Clean thoroughly
Remove grease, soap residue, and dust. Use isopropyl alcohol for final cleaning.Check for defects
Fill any deep grout lines or chipped tiles if they would show through the wrap.Measure and pre-cut
Cut wrap sections in advance, leaving small margins for trimming on-site.Peel and apply
Begin from one edge, pressing the vinyl gently into place with a squeegee.Apply heat and pressure
Use a heat gun to mold the wrap over edges and in grout joints.Trim and seal
Cut excess vinyl with a precision cutter and press edges firmly. Use sealing tape or edge primer if needed for humid areas.
This method is not only efficient it’s reliable and repeatable, perfect for professionals who value both speed and quality.
Choosing the Right Finish for Each Space
Clients often ask for guidance when choosing vinyl finishes. As an installer, your expertise is key. Here are some best-use recommendations:
Glossy finishes: Ideal for sleek, modern kitchens with reflective surfaces.
Matte textures: Better suited for bathrooms with a calm, elegant aesthetic.
Stone and marble effects: Provide a luxurious look for vanity zones or minimalist backsplashes.
Woodgrain: Great for rustic kitchen features or warm bathroom accents.
Soft tones (peach, sand, beige): On-trend in bathrooms for a relaxed, natural vibe.
Tip: Always carry physical swatches. Vinyl color and texture can shift subtly under different lighting, and nothing replaces the tactile feel of the real material.
Maintenance Tips to Extend the Life of the Wrap
Once installed, maintenance is low effort but crucial for longevity. Recommend the following to clients:
Clean with mild soap and water no harsh chemicals
Avoid abrasive sponges or scrubbing tools
Check edges regularly, especially in wet areas
Keep high heat appliances (toasters, kettles) slightly away from wrapped surfaces
With these habits, high-quality wraps can retain their appearance for years even in busy households.
Helping Clients Say Yes to Vinyl
Most clients are not aware that wrapping tiles is even an option. That’s where your advice becomes invaluable. Emphasize:
The clean and fast installation
The cost savings over removal and replacement
The design flexibility and reversibility
The water-resistant properties that match tile performance
With growing awareness and demand for low-impact renovation, vinyl is no longer a shortcut it’s a smart, stylish solution.
Cover Styl is here to support you with material quality, training, and inspiration. The next tiled surface you encounter might not need demolition it might just need the right wrap.