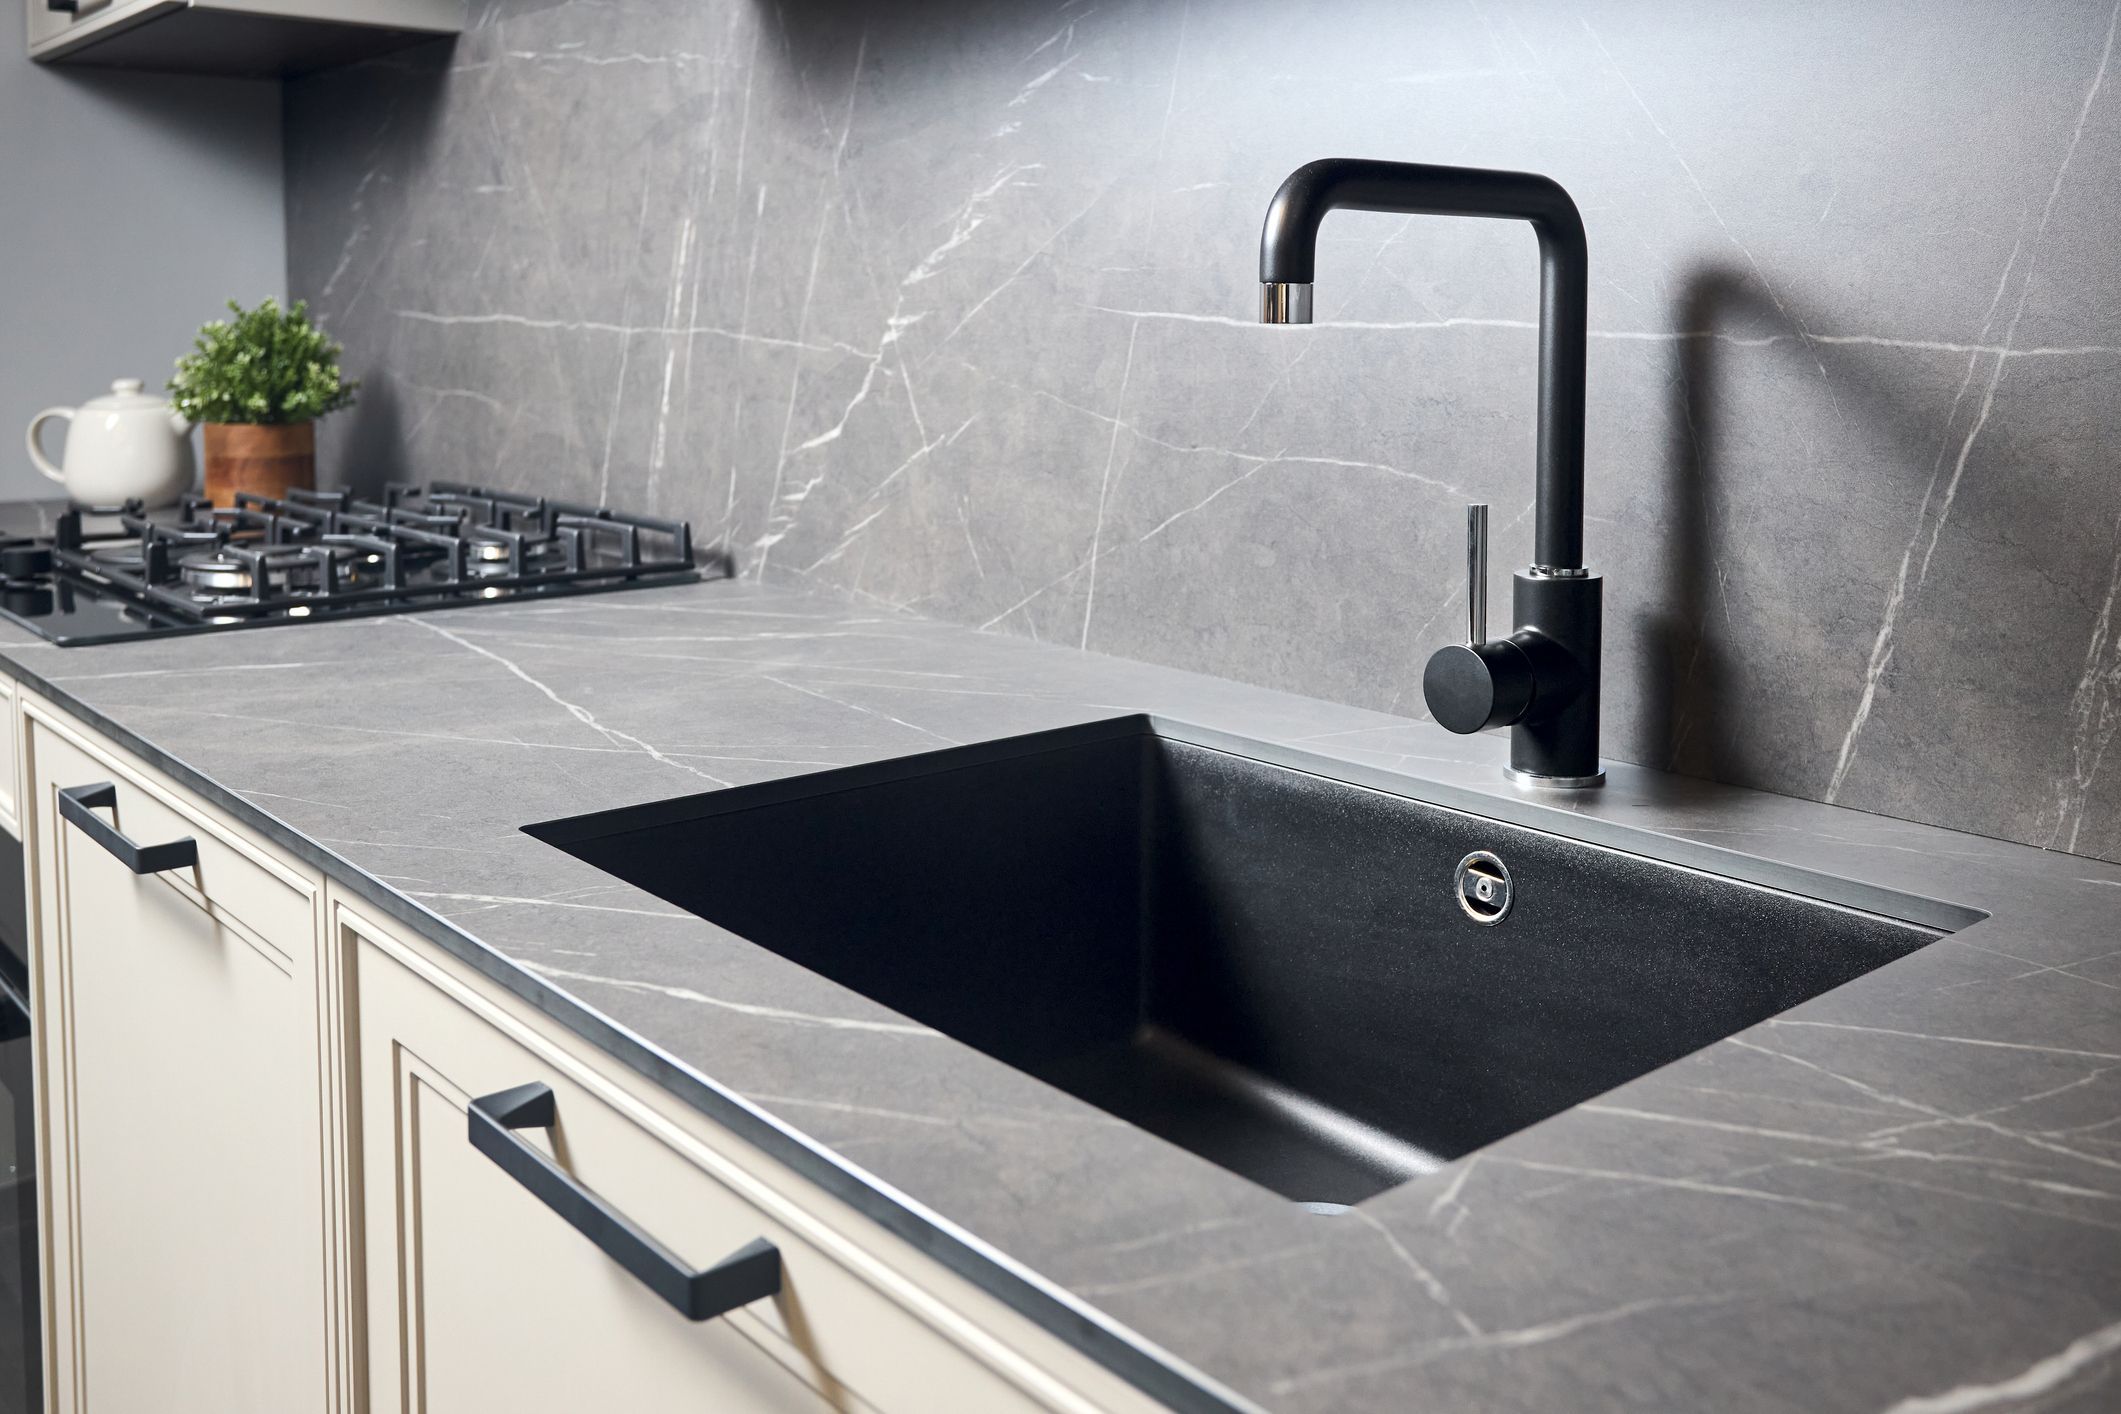
How to Vinyl Wrap Kitchen Worktops Around a Sink Like a Pro
May 14, 2025Know Your Sink Type First
Before cutting anything, assess what type of sink you’re wrapping around. It changes everything about your approach:
Drop-in sink (most common): sits over the worktop with a lip resting on the surface. You'll be wrapping up to the edge under the lip.
Undermount sink: sits below the worktop, often with exposed edge detail. Requires perfect trimming and visible finishing.
Integrated sink or ceramic inset: typically not wrap-friendly — avoid unless you’re just trimming near it.
Each type dictates your finishing zone, your cut lines, and your tolerance margin.
Tools You’ll Need (and Why)
Precision knife with snap-off blades — clean edge work is non-negotiable
Heat gun — to soften the vinyl, especially in corners and curved areas
Microfiber cloths and isopropyl alcohol — critical for degreasing around the sink
PTFE/Teflon squeegee — won’t scratch the film during tight pushes
Silicone roller — ensures pressure around sink contours
Knifeless Tape — optional, but useful for clean radius cuts
Edge sealer pen — a must for high-moisture zones like sink edges
Surface Prep Around the Sink
A sink area is one of the most abused parts of any kitchen. Heat, steam, moisture, soap, oils — you name it. That’s why surface preparation here is everything:
Remove old silicone completely — use a plastic scraper and solvent if needed.
Degrease meticulously: even factory-clean worktops often have soap or wax residue.
Lightly abrade (if needed) around corners for better bite — especially if it’s a melamine or high-gloss laminate.
Dry everything fully before applying any material.
Tip: If possible, remove the sink first. It makes the job easier and helps you tuck the vinyl underneath the rim with precision.
Step-by-Step Wrapping Around a Drop-In Sink
Measure and dry-fit your vinyl. Always give 5–10 cm extra margin beyond the sink cut-out.
Apply the film over the worktop without tension. Let it float and adjust before locking in place.
Cut the sink hole roughly first, leaving 1–2 cm of excess inside the cut-out.
Warm the vinyl gently with the heat gun and begin pressing it down into the sink hole using your squeegee. Work evenly around the edge — never force it in one go.
Once the vinyl is down inside the cut-out, make relief cuts in the excess material to allow it to fold cleanly underneath.
Use your knife to trim just under the lip of the sink.
Use the silicone roller to press everything firmly and activate the adhesive fully.
Finally, apply edge sealer generously around the entire inner edge. This will prevent water ingress under the film.
Wrapping Around Undermount Sinks
Undermount sinks leave no room for hiding. Your cuts and edges are exposed. Here’s how to handle it:
Apply the vinyl as usual across the full worktop.
Cut the sink opening precisely with a fresh blade.
Slightly chamfer the inside edge of the cut to help the film fold just slightly under (if the substrate allows).
Heat carefully and roll the edge down with the silicone roller.
Apply sealer along the cut edge — not just for waterproofing but also to prevent lift from daily cleaning friction.
Warning: Avoid overstretching — it will weaken the adhesive at the most vulnerable point.
Finishing Tips That Make a Difference
Always seal around the sink — even if it “looks tight”. Water finds its way.
Don’t skip the heat: cold film will snap at corners. Controlled heat gives you flexibility.
Use light pressure first, then follow up with firm silicone roller passes.
Clean again after install: polish with microfiber and IPA to remove fingerprints and restore finish.
For wood grain or textured finishes, align direction before cutting around the sink opening.
For a natural stone finish that's easy to apply and durable, take a look at the NE28 model from the Cover Styl stone collection.
Mistakes to Avoid
Rushing the prep — water or grease residue under the vinyl means failure in weeks.
Forcing corners — heat and gradual pressure are key.
Using dull blades — the most common cause of jagged edges and torn wrap.
Skipping edge sealer — especially dangerous around undermounts.
Leaving sharp edges inside cut-outs — always round corners to prevent peeling.
Final Word: Think Long-Term Durability
Wrapping around a sink isn’t a quick task — and it shouldn’t be. This is a high-wear area where shortcuts become callbacks. Take the time to prep, wrap, seal, and finish like a pro.
With the right tools, techniques, and mindset, your vinyl wrap will hold up beautifully — even in one of the most punishing spots in the kitchen.