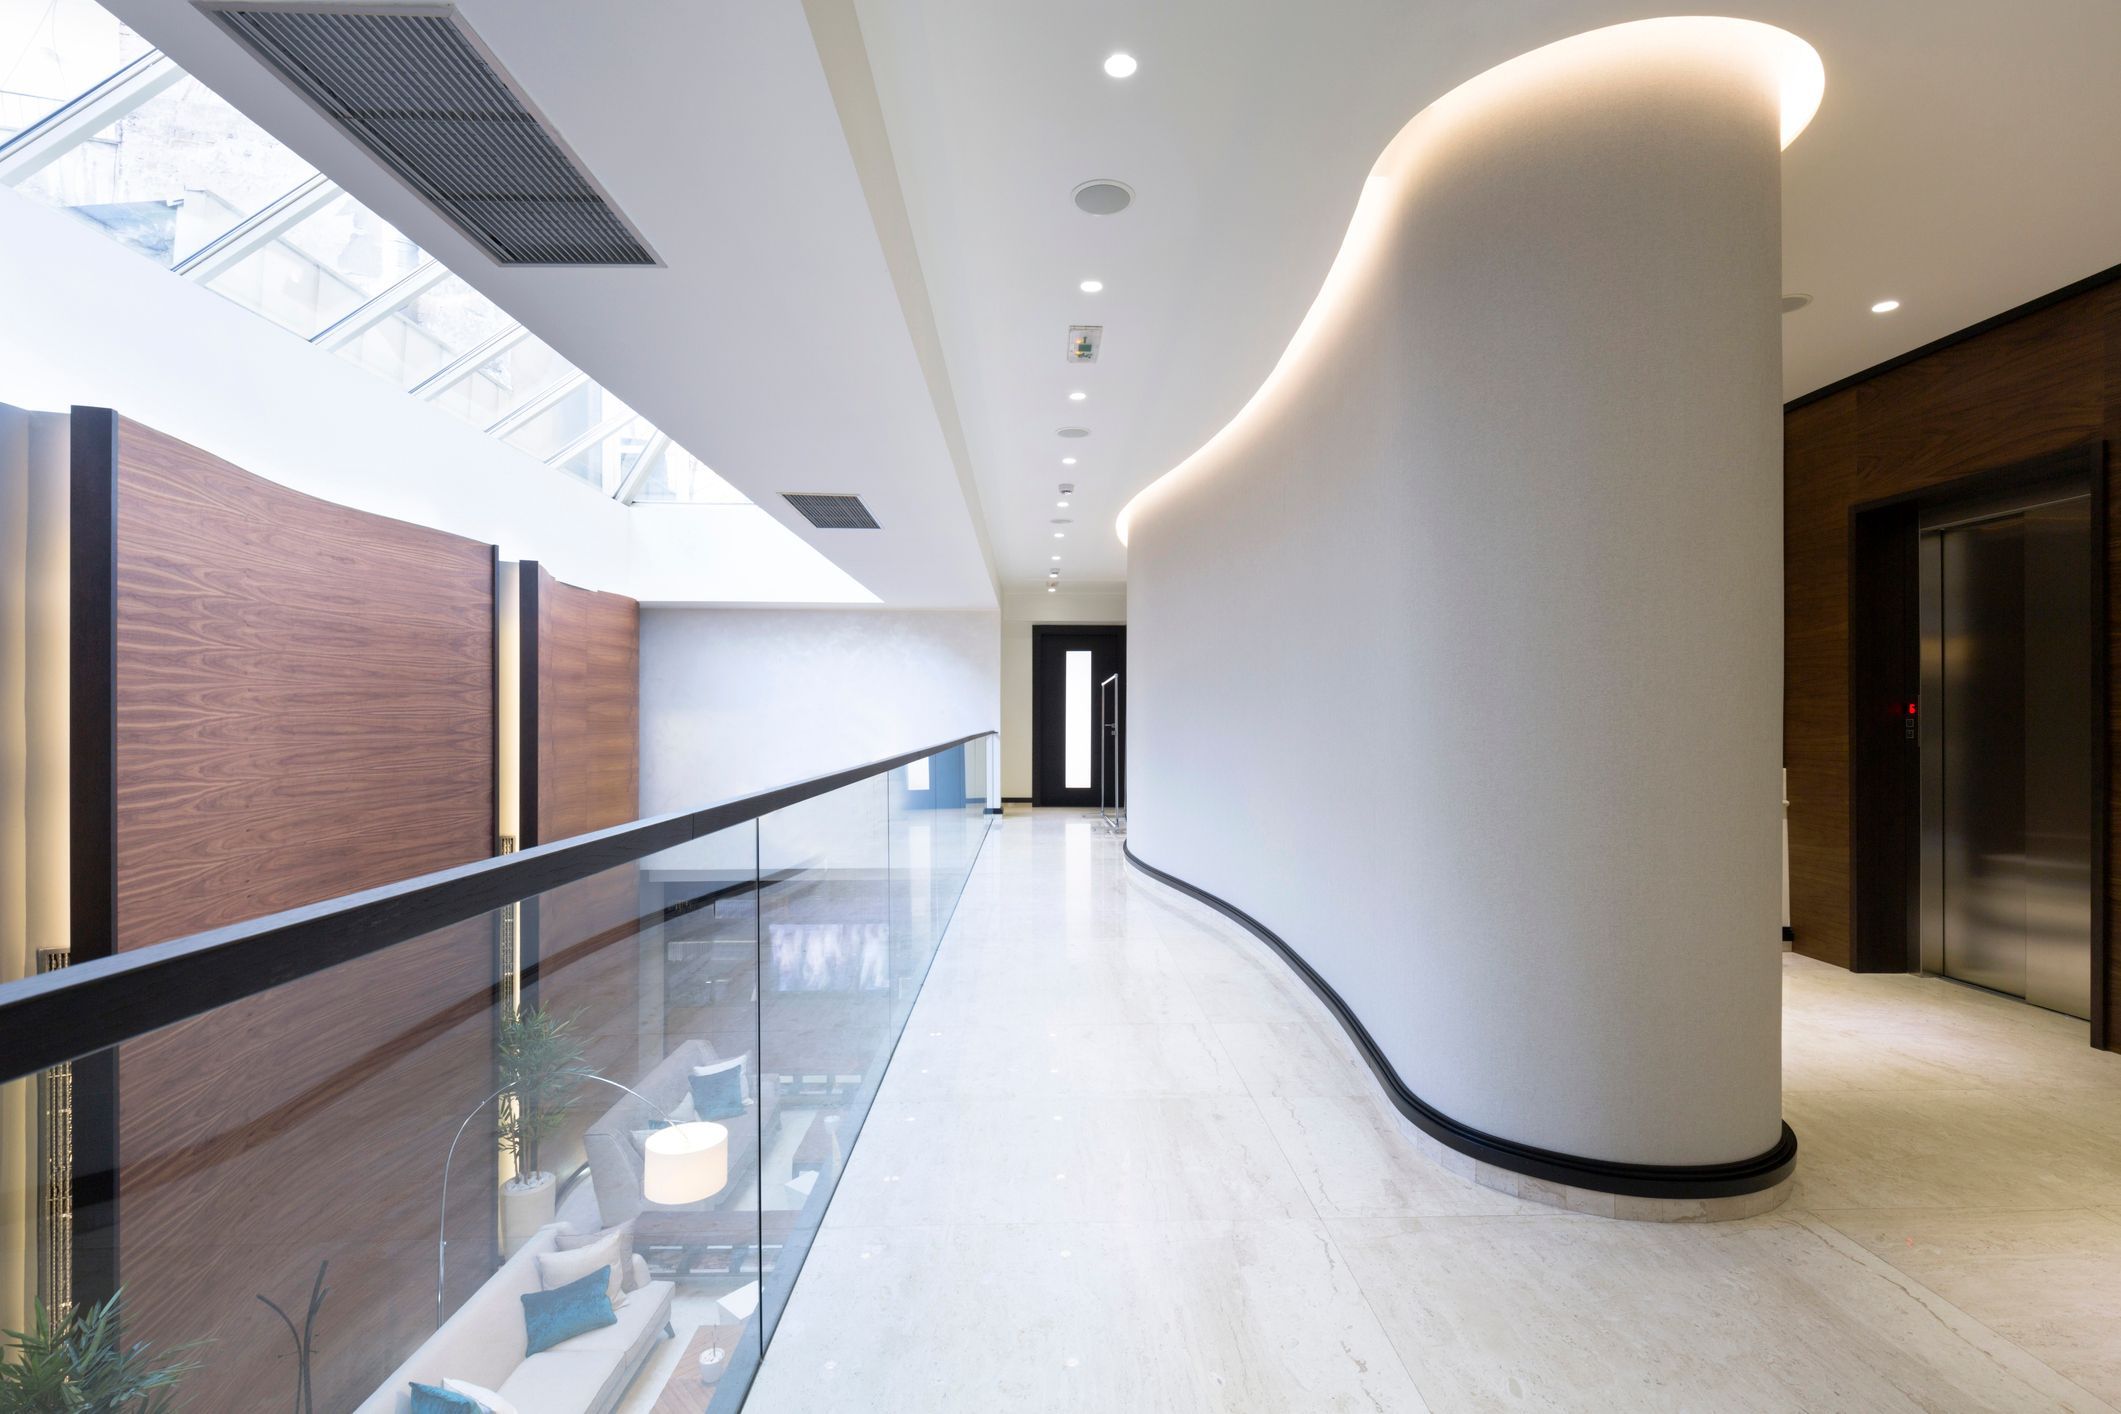
Unique Problems of Installing Vinyl Wraps on Curved Walls
Attaching vinyl wraps over a flat surface is easy—basically, all you need to do is lay the vinyl and choose the right adhesive. However, this same task becomes more difficult when the area being wrapped has partitions and curves, as the installer has to ensure the vinyl takes the shape of the surface and sits properly on the curved wall.
It can be daunting at first, but with regular practice and the identification of potential challenges, this task becomes easier.
Distortion and Texture Problems
Unlike flat surfaces, curved wall vinyl wrap installation requires greater skill and technique, as the vinyl may sometimes stretch unevenly, potentially warping the design. Even worse, textured, curved surfaces are almost resistant to vinyl wraps. In such cases, the graphics, patterns, and text of the vinyl may appear distorted, which can ruin the intended visual effect.
Air Bubbles
Bubbles are another common phenomenon you might encounter when installing vinyl wraps on curved surfaces. In some cases, it is normal for there to be occasional wrinkles in a wrap. However, when they become noticeable, they can spoil your interior decor and peel off with time. Using heat guns and squeegees can help to reduce this flaw by smoothing the surface.
Adhesive Issues
Adhesive problems are common with vinyl-curved wall installations, especially as some wraps lose their adhesive properties over time. The perfect remedy is to clean the surface thoroughly before attaching the wraps to the curved walls. Similar to when you put a screen protector on a smartphone, the smallest pieces of dirt on a curved wall can impact how well the wrap adheres to the wall.
What You Need to Install Vinyl Wraps on Curved Walls
Applying vinyl wraps on curved walls requires special tools and equipment to ensure a smooth result. These tools are easy to find, and professional installers, DIY enthusiasts, and interior designers will find them indispensable.
- High-Quality Vinyl Wraps: In this case, apply adhesive vinyl wraps that are flexible and much easier to handle around curves.
- Measuring Tape: This tool will allow you to measure and cut accurate vinyl sizes to fit curved wall areas.
- A Piece of Cloth: Use a soft, lint-free microfiber cloth to clean surfaces before applying the wraps.
- Painter’s Tape: This tool is helpful in installing vinyl wraps in office partitions. Use it to accurately measure the vinyl that will extend over a surface edge.
- Utility Knife: This is a cutting tool for shaping vinyl wraps to specific sections of the curved wall surface.
- Marker Pen: After measuring with a tape, you need this tool to mark specific sections so you know where to cut.
- Squeegee: You can use this tool to remove air bubbles from underneath the vinyl wraps.
- Heat Gun: This tool allows you to make wraps more malleable so they can properly stretch over curves and fit into any crevice.
The Four Processes to Follow for Curved Wall Vinyl Wrap Installation
Before starting your project, it is necessary to ensure the vinyl wrap is appropriate for the job. Purchase samples of your favorite design and test them on the area you will be working on to ensure the vinyl is suitable and sticks well. It is important to note that most vinyl will not adhere to wipeable paint, which is designed to repel dirt, grime, etc., and will repel the vinyl as well.
Step 1: Run a Test
Before settling on the location of your wall wraps and the kind of vinyl you will use, it’s best to run a test to see what vinyl will work best on the application surface. Professional installers have several testing kits that help them perform a vinyl adhesion test at the site. In the case of DIY, hindsight and frequent trials will suffice.
Step 2: Surface Preparation
Once you’ve selected your vinyl, you can clear the curved wall’s surface by removing debris with a clean cloth. This task is essential because peeling paint, gouges, and other imperfections make graphics look bad and could keep wraps from sticking.
Step 3: Measuring
After you’ve prepared the curved surface area, ascertain how much vinyl you’ll need to cover the region. To measure a specific area, calculate the width × length in centimeters. You’ll want to add a few centimeters each way to accommodate the curved surface. Since you will be dealing with curved surfaces and regions, it is better to order custom-sized vinyl.
Step 4: Application
When it comes to curved wall vinyl wrap installation, the trick is to apply small amounts at a time. We suggest peeling no more than 2-3 cm and then sticking the wraps into place using your squeegee. This way, you can make sure it’s straight and no creases or bubbles appear.
When applying, follow these steps:
- Wipe down the curved wall with a mixture of 70% isopropyl alcohol and 30% water.
- Wait for 10 minutes.
- Apply strips of vinyl wraps to the wall.
- If you notice any air bubbles, use a pointed surface to poke them.
- Use heat guns to make the vinyl wraps malleable and smooth out any rough surfaces.
Step 5: Finishing Techniques and Sealing
When using vinyl wraps in and around rooms with moisture, it is always best to seal any edges. This process is straightforward; simply use a sealant to join all corners in the walls, along with the bottom and top sections. Sealing ensures your vinyl stays put longer and eliminates the risk of any water or steam getting underneath it.
Expert Tips on Vinyl Wrap Techniques for Curved Surfaces
While the above vinyl wrap techniques for curved surfaces are straightforward, installing wraps is not as simple as it seems. Hence, here are some dos and don’ts to assist you.
- Don’t clean walls with harsh cleaners: Avoid using any harsh cleaners, such as Windex or chemicals, when preparing the curved wall surface, as any residue can negatively affect the adhesive.
- Use water-based, semi-gloss latex paint: Wall paint with a matte, flat, or eggshell finish has an uneven, dusty finish, which makes it difficult for the vinyl to stick and can cause peeling and bubbling.
- Don’t hide blemishes with vinyl wraps: Any surface defect, such as cracks, holes, or dents, could be visible under even the thickest vinyl. Ensure the surface is as smooth as possible before installation.
- Don’t rush to install vinyl wraps after painting: It is always better to wait for any paint to dry before installing vinyl wraps. If you’re applying the wraps to a freshly painted surface, wait at least two weeks for the paint to cure fully.
Conclusion
Installing vinyl wall graphics may seem daunting, but with the simple steps outlined above, it can be much less daunting.
If you encounter any issues while trying to install the vinyl wrap, contact a professional by reaching out to the Cover Styl team for assistance. You can also get other firsthand decorative inspirations by checking out their mood boards.
For further product demonstrations and consultations, reach out to CoverStyl for assistance…