How to Prep Your Office for a Wall Wrap Installation | Cover Styl
March 17, 20251. Choosing the Best Location for Your Wall Wrap
Not every wall is suitable for a wall wrap. When selecting the right spot, consider:
- Visibility and foot traffic. Lobbies, hallways, break rooms, and conference rooms are ideal for maximum impact.
- Lighting. Proper lighting ensures the wall wrap is clearly visible.
- Surface condition. The wall should be smooth and free of major imperfections.
Walls to Avoid
- Areas with high humidity, such as near kitchens or bathrooms.
- Surfaces close to heaters or water pipes, as heat and moisture can affect adhesion.
- Walls with large cracks, peeling paint, or visible damage.
2. Clearing the Space Before Installation
To allow for an efficient and hassle-free installation:
- Move furniture such as desks, chairs, and cabinets to provide full access to the wall.
- Remove or cover light switches and outlets if possible.
- Inform the installation team of any fixed objects, such as pipes or trim, so they can plan accordingly.
3. Inspecting and Repairing the Wall Surface
Before applying a wall wrap, ensure the surface is:
- Even and smooth to prevent imperfections from showing through the vinyl.
- Free from moisture or water damage.
- Structurally stable, especially if drywall has been recently installed.
Fixing Wall Issues Before Installation
- Fill small cracks or holes with spackle or joint compound at least 24 hours before installation.
- Sand rough areas and remove any peeling paint.
4. Priming and Painting the Wall
A primed and painted wall improves adhesion and makes the wrap easier to remove later.
- Use a primer designed for vinyl applications and avoid oil-based primers.
- If the wall has been recently painted, allow at least seven days for the paint to fully cure.
While painting is not mandatory, it can protect the drywall and facilitate future removal of the wrap.
5. Cleaning the Surface
Even if a wall looks clean, dust and grease can interfere with adhesion.
- Use a mild isopropyl alcohol and water solution with a lint-free cloth.
- Avoid ammonia-based or silicone cleaners that leave a residue.
- Clean the surface on installation day for the best results.
6. Environmental Factors to Consider
Wall wraps adhere best in a stable environment. Before installation, check the following:
- Temperature should be between 18-25°C (65-77°F).
- Humidity levels should be low to prevent peeling or bubbling.
- Ventilation should be controlled to avoid dust settling on the wall.
Paint Type Matters
Some paints affect adhesion:
- Matte or chalky finishes absorb adhesives, reducing stickiness.
- Glossy or oil-based paints may cause the vinyl to slide.
- Semi-gloss or satin finishes are recommended for best results.
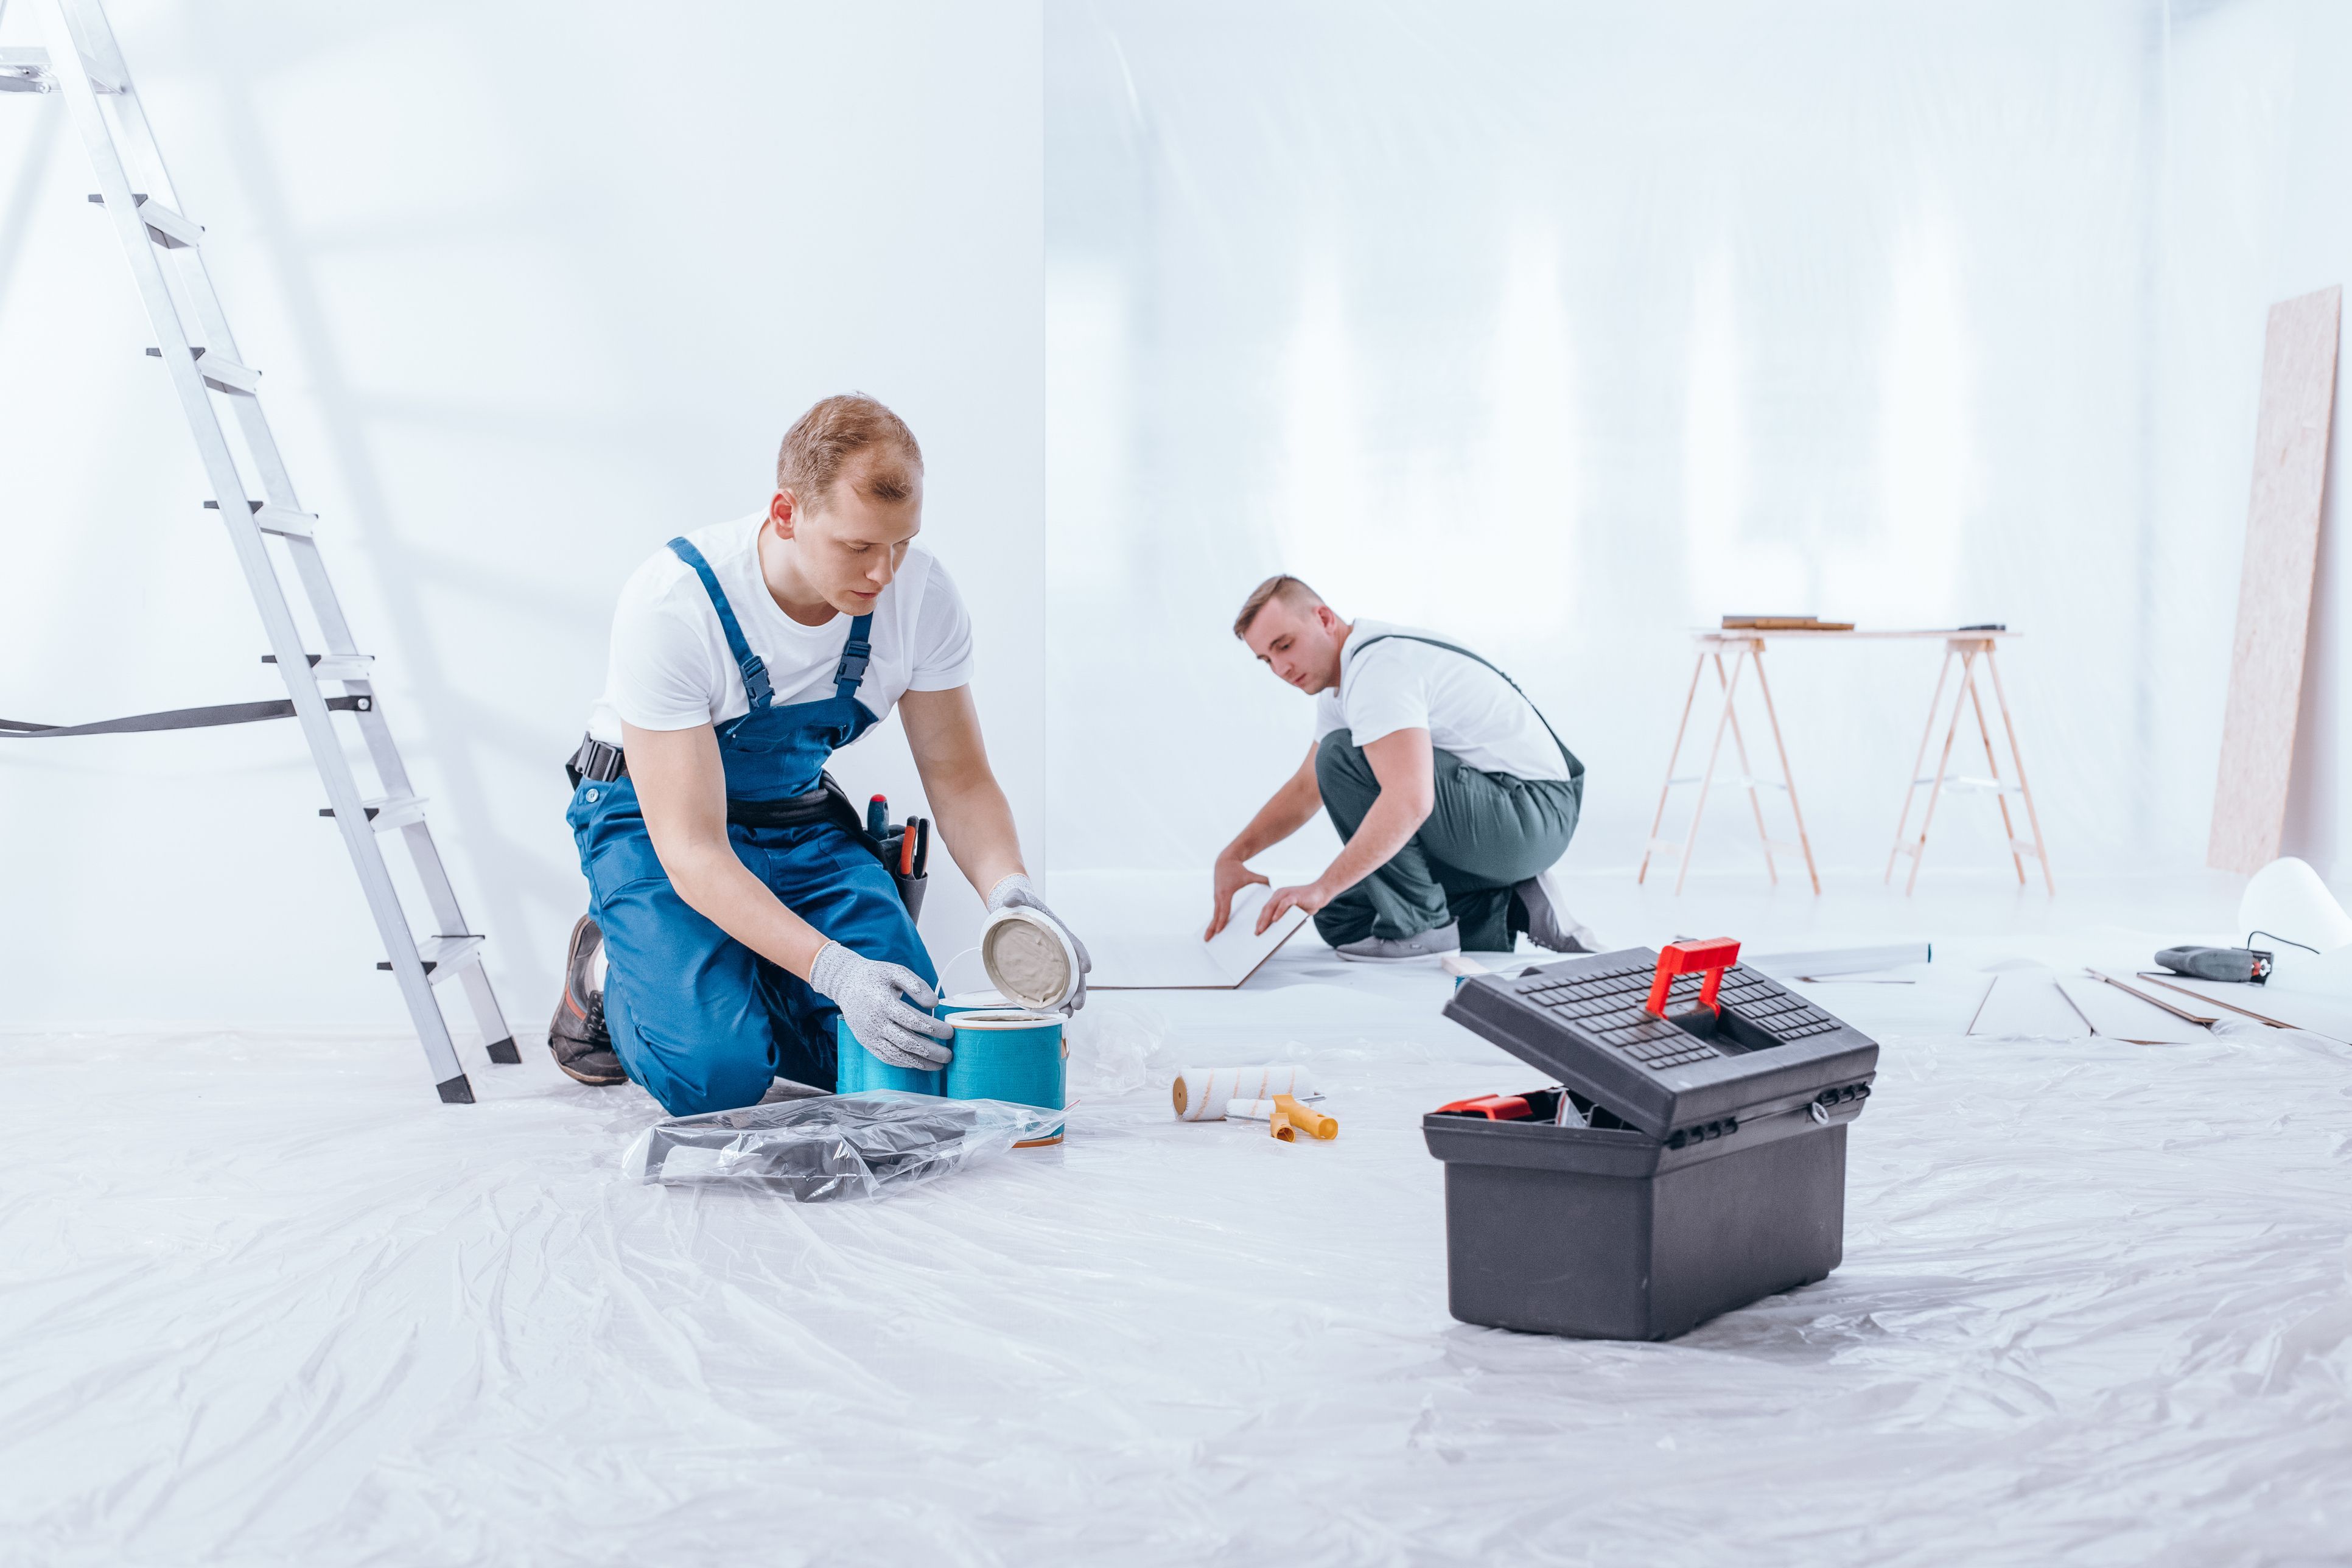
7. Essential Tools for Installation
Having the right tools ensures a smooth and mistake-free application.
- Measuring tools: Tape measure, spirit level, and pencil.
- Cleaning supplies: Isopropyl alcohol and lint-free cloths.
- Application tools: Squeegee, utility knife, and masking tape.
- Optional: A heat gun to reinforce adhesion on edges.
8. Pre-Installation Adhesion Test
Before applying the full wrap, conduct a test:
- Apply a small vinyl sample to the wall.
- Let it sit for 24 hours.
- Check for peeling or weak adhesion.
- If necessary, use a wall primer to improve bonding.
9. Common Mistakes to Avoid
- Skipping the cleaning process, as dust and grease reduce adhesion.
- Applying vinyl to a freshly painted wall before waiting the recommended drying period.
- Ignoring temperature control, as extreme temperatures can weaken the adhesive.
- Forgetting to remove obstacles, which may interfere with proper placement.
10. What to Expect on Installation Day
Once your office is prepared, the installation team will:
- Survey the area to ensure all conditions are met.
- Check the wall surface before beginning.
- Align the design carefully before application.
If you have concerns, communicate them before installation day to avoid last-minute adjustments.
Final Thoughts
A well-prepared wall ensures:
- Strong adhesion for long-lasting durability.
- A smooth, bubble-free finish.
- Minimal maintenance over time.
Whether you’re an installer or a business owner, following these steps will lead to a professional and successful installation.