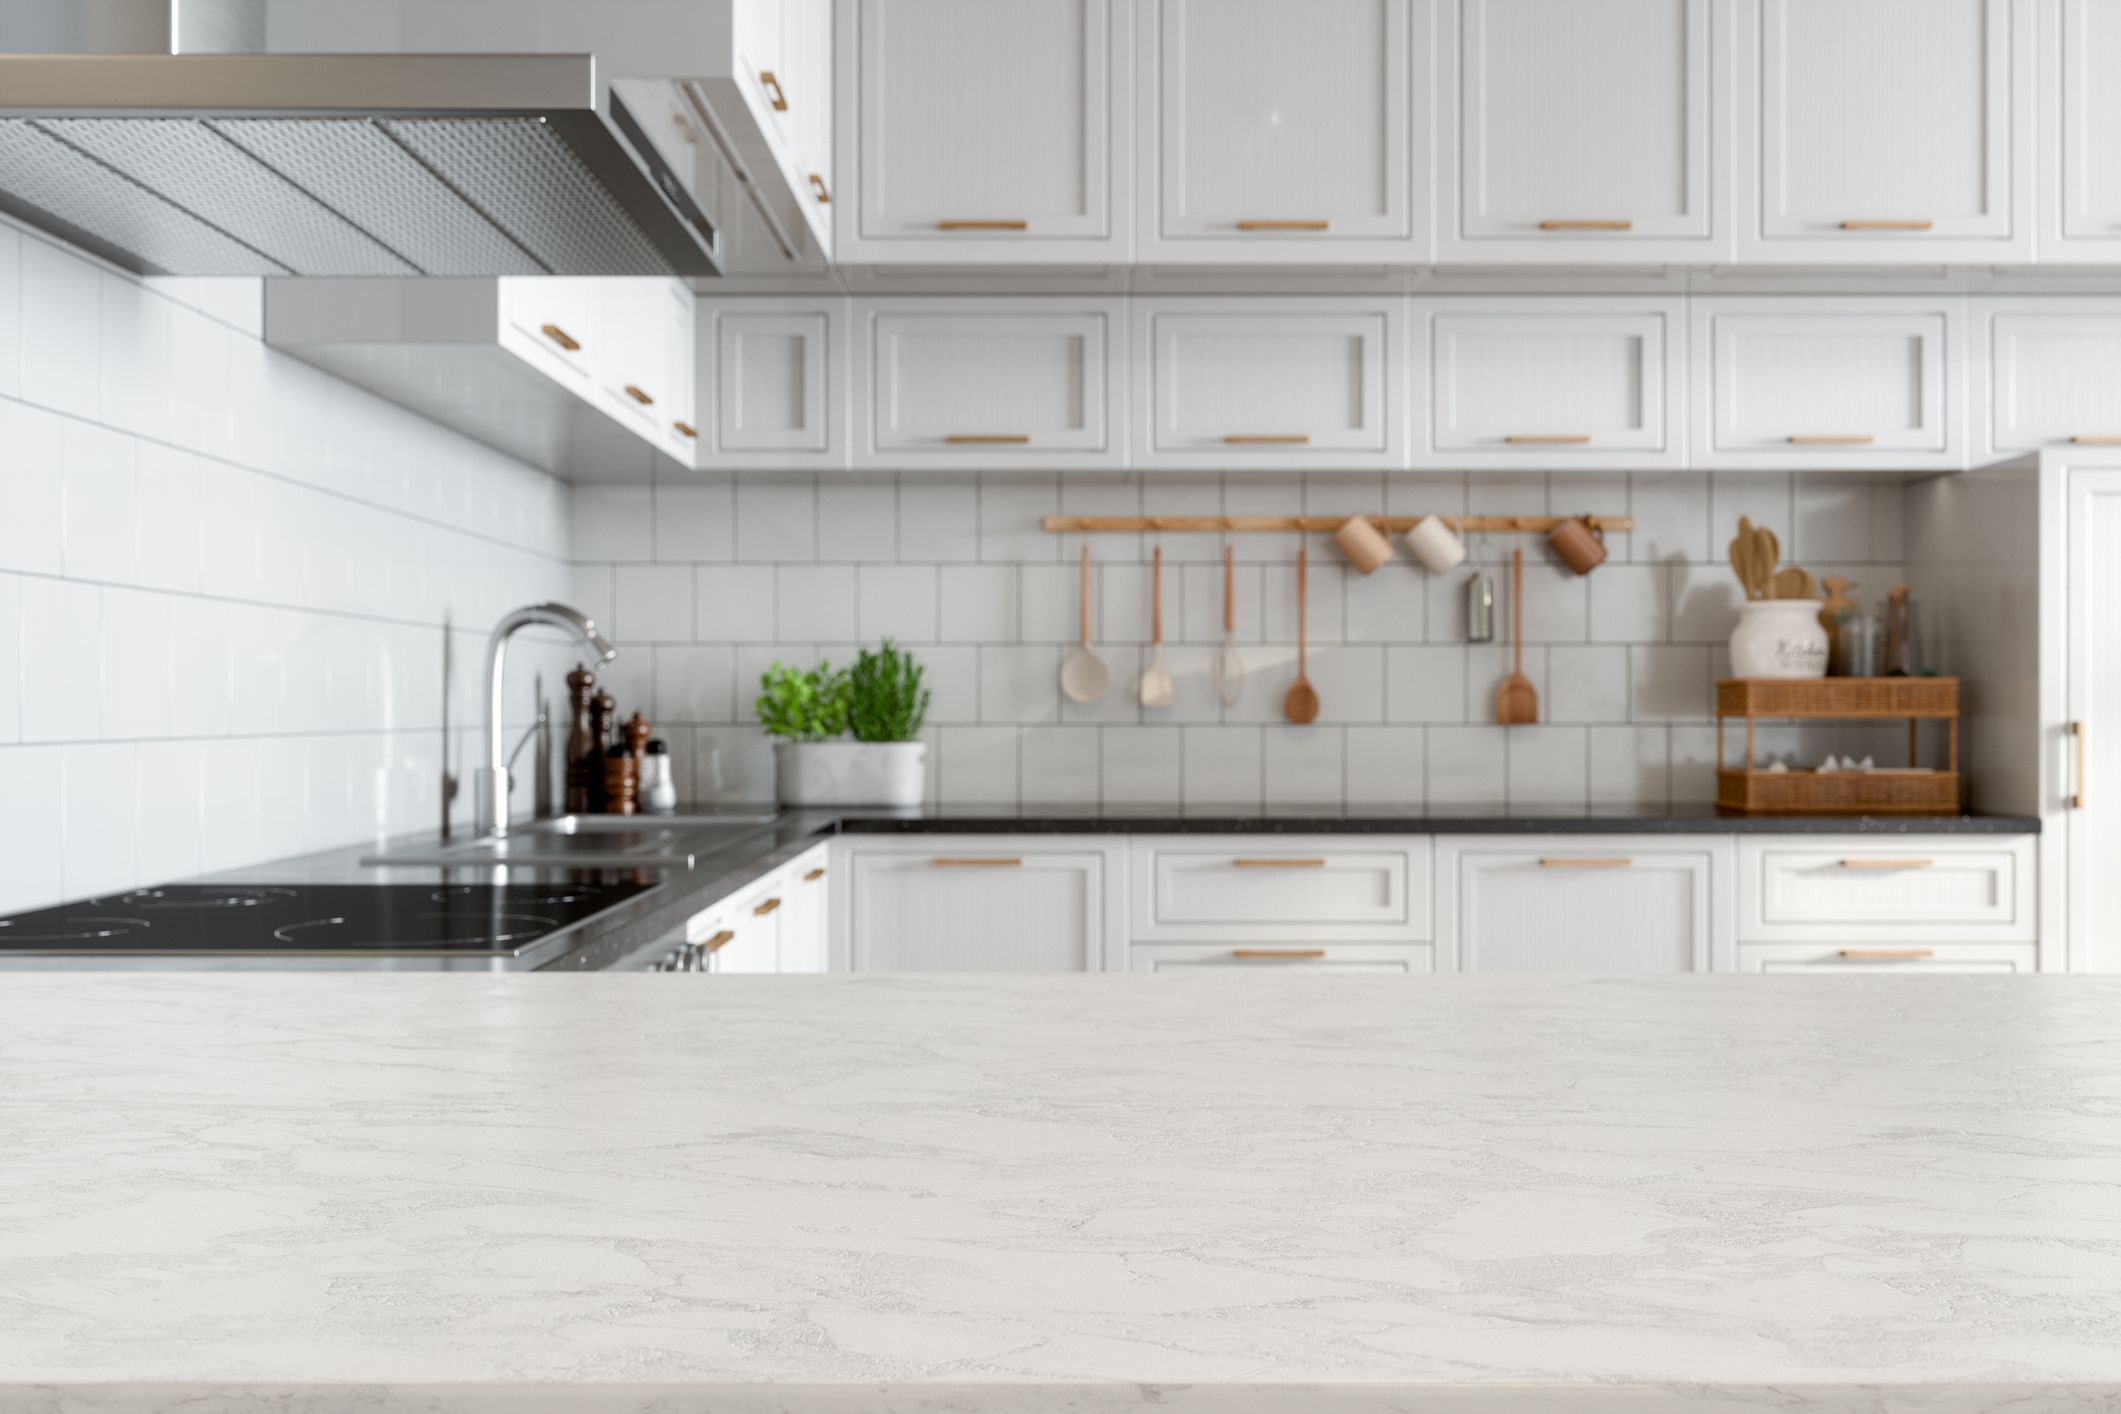
How to Join Vinyl Wrap on a Worktop Without Visible Seams
May 14, 2025When Do You Need to Join Vinyl Wrap on a Worktop?
You’ll typically need to join vinyl in cases like:
- Worktops longer than your roll width
- L-shaped counters where you have to wrap around corners
- Repairs or patch jobs on pre-existing surfaces
- Mismatch in pattern direction or texture that requires realignment
Joining vinyl isn’t just about lining up two edges — it’s about integrating them so they look like one clean piece. And that takes precision, patience, and the right method.
Tools and Materials You’ll Need
Don’t show up under-equipped. Here’s what you’ll want on hand:
- Heat gun (preferably with adjustable temperature)
- Precision knife or scalpel (sharp, always)
- PTFE or Teflon squeegee
- Seam roller
- Cutting tape (Knifeless Tape or equivalent)
- Surface degreaser or IPA
- Microfiber cloths
- Silicone roller (for pressure-sensitive final passes)
Surface Prep: Don’t Rush This Part
Before thinking about the seam, get your substrate right. That means:
- Degrease the surface thoroughly using isopropyl alcohol. Pay extra attention to corners, grooves, or old silicone.
- Sand lightly if you’re working on a melamine surface with wear or scratches. Use a fine grit (320 or higher).
- Check humidity and temperature — between 18 °C and 24 °C is ideal for install work.
- Dry fit your panels before you commit to adhesive.
A poorly prepared surface will ruin the cleanest seam — adhesion issues, bubbling at the join, or visible lift over time.
The Overlap-and-Double-Cut Technique (Recommended)
This is the method most pros use when a clean, nearly invisible join is needed:
- Overlap the two pieces of vinyl by 2 to 3 cm right on the intended seam line.
- Use Knifeless Tape along that line before laying the second sheet. This ensures a clean cut without scoring the surface.
- Apply both sheets with slight heat and pressure, using a squeegee to remove air pockets.
- Perform a double-cut: run your sharp blade through both layers in one pass.
- Remove the waste material underneath and above. You’ll be left with a perfectly aligned edge-to-edge seam.
- Heat seal the join using your heat gun and a silicone roller. This activates the adhesive and helps bond the edges.
Pro Tip: Avoid stretching the vinyl during this process. Tension equals retraction, and retraction ruins joins.
Pattern Matching: A Make-or-Break Detail
When working with wood grains, marble effects, or directional textures:
- Always align the grain before cutting. Even 1 mm of misalignment will be visible under kitchen lighting.
- Consider using a registration mark with pencil on the backing liner to help match.
- Don’t hesitate to waste a bit of material for a perfect match — it’s cheaper than a callback.
Alternative: Heat-Welded Join (For Straight Grain Surfaces)
This method is riskier but effective on certain finishes:
- Use a precision grooving tool or vinyl router to bevel the overlap.
- Insert a thin strip of matching vinyl underneath as a “filler core.”
- Apply heat slowly and press both sides into the core.
- Finish with a silicone roller pass and leave under light pressure.
Only attempt this if you’re confident and experienced — poorly executed weld joins are worse than visible seams.
Common Mistakes to Avoid
- Using a dull blade — even once. It’ll snag the vinyl and cause tearing or uneven cuts.
- Overheating the material before the join — this will distort textures and cause shine.
- Forgetting to dry fit — results in misaligned patterns or overlaps that fall short.
- Skipping edge sealing — especially on kitchen worktops exposed to moisture or cleaning chemicals.
- Rushing the cleaning phase — dust, oil, or leftover silicone will sabotage the bond at the seam.
Final Pass and Quality Control
Once your seam is cut and heat sealed:
- Use a clean microfiber cloth to inspect under angled light.
- Apply gentle pressure with a silicone roller along the join.
- Let it cure undisturbed for 24 hours before exposing it to heavy cleaning or use.
- For kitchens or commercial installs, consider applying an edge sealer pen for added moisture resistance.
Conclusion
Joining vinyl wrap on a worktop isn’t just a technical step — it’s a detail that defines the quality of your install. Mastering the double-cut method, understanding pattern alignment, and knowing when not to cut corners is what will elevate your work.
Take the time to prep, cut right, and finish strong. Because if the seam is invisible, your work will speak for itself.
Need support for complex layouts or challenging substrates? Contact the Cover Styl technical team — we’ve been there, and we’re here to help.