How to Fit Upstands & Back Panels in Your Kitchen
December 2, 2025What Are Upstands and Back Panels?
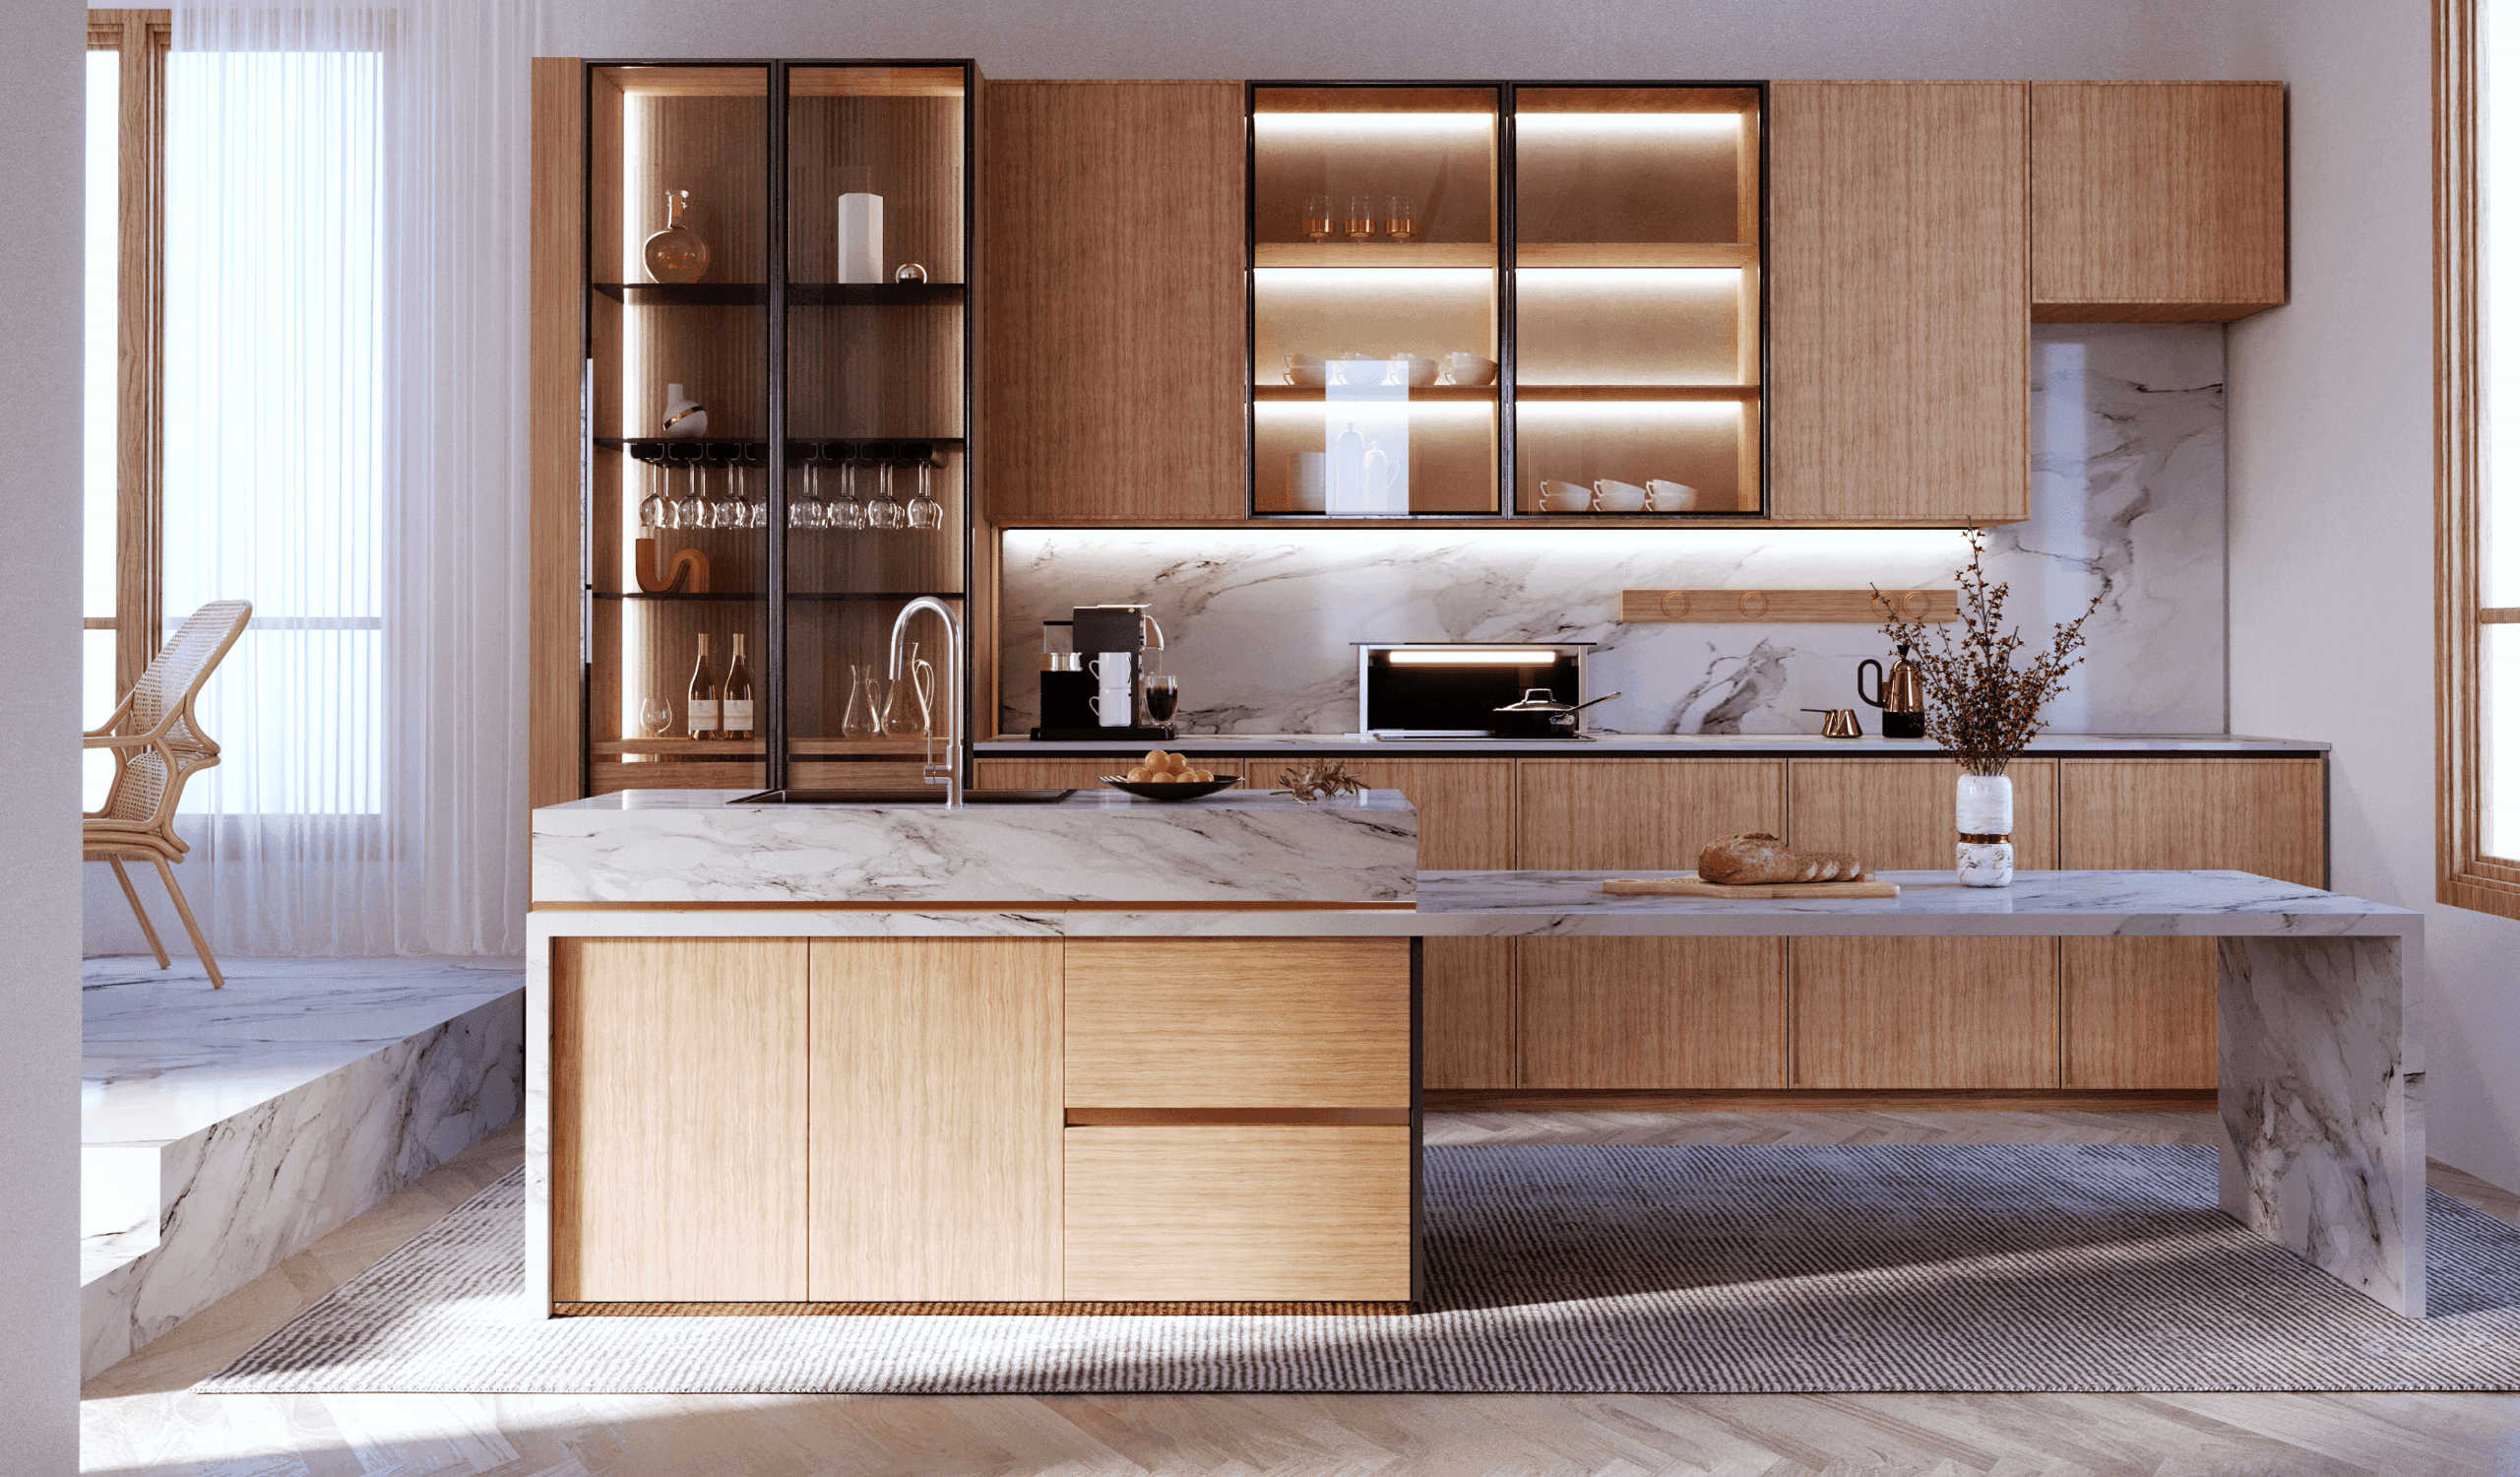
The upstands are slits of material (usually 60100mm high) that are mounted in the corner where the wall and the counter-top meet. They are meant to work in safeguarding this vulnerable region against spills and moisture, besides providing an alternative that is sleeker than the traditional tiles.
Splashbacks, also known as back panels, are larger protective panels that are fitted behind the hobs, sinks, or along full wall lengths. They also offer a broad shield against heat, grease, and day-to-day kitchen mess, and therefore, the area becomes simpler to clean and easier to visually understand.
Why Correct Fitting Matters
Installation is the appropriate measure to ensure that your kitchen wall protection solutions work as expected. An upstand of the appropriate size will avoid water intrusion at the junction of the worktop and the wall. A properly installed rear panel will help avoid warping, damage due to moisture, and grease. They both contribute to greater hygiene, ensuring it takes less work to clean the room itself, and contribute to the aesthetics of the kitchen in general.
Tools and Materials You Will Need
To install kitchen upstands or fit kitchen back panels, you will typically need:
- Measuring tape and spirit level
- Pencil or marker
- Fine-tooth saw, jigsaw, or circular saw (depending on material)
- Strong construction adhesive or panel adhesive
- Adhesive spreader or cartridge gun
- Masking tape
- Silicone sealant (preferably mould-resistant)
- Cleaning cloths
- Optional: clamps or temporary supports
Step-by-step Instructions
Step 1: Measuring and Planning
A neat installation dependent on accurate measuring. Measure the wall length, in which the upstand will be installed, and calculate the exact panel size of the upstand. Consider power outlets, corners, and cut-outs. Measure everything on the material prior to cutting so as to avoid mistakes.
Step 2: Preparing the Surface
Assure that the wall surface is clean and dry with no grease. Your panels will not adhere properly due to any dust or old adhesive, and also loose paint. Apply a soft instalment of detergents in case of use behind the hob or sink where most accumulation is usually found.
Step 3: Cutting the Panel or Material
You should carefully cut with the proper cutting tool for your desired material (laminate, acrylic, composite, aluminium, or glass). The splintering is minimized with a fine-tooth blade, and the edge is smoother. Test fit the piece to size before attaching an adhesive.
Step 4: Applying Adhesive or Fixing Method
Use a continuous line of the construction adhesive on the back side of the upstand or panel. Spread evenly if required. The type of adhesive matters, as well, be it in accordance with the amount of humidity in the kitchen, and the material that you are sticking to (painted wall, plaster, tile, etc.).
Step 5: Positioning and Adjustment
Install the upstand/back panel by laying it on the wall. Pressing should be hard, with the application of a spirit level in order to make sure that it is perfectly aligned. The piece can be temporarily fixed with masking tape or temporary auxiliary supports until the adhesive is finished drying.
Step 6: Sealing the Joints
Apply silicone sealant to the overall top of the upstand and around any joints in the back panel. This is to ensure that the water does not creep along the back of the units and also makes the installation look smoother and more professional. The best solution is to use colour-matched or transparent silicone.
Step 7: Cleaning and Finishing
Clean up any residual glue or silicone before it dries. Wipe the surfaces gently by wiping them with a non-abrasive cloth. As soon as all of it is dry, your new protective surfaces will be ready to be used on a daily basis.
Tips for Achieving a Seamless Look
- Keep the joints as few as possible and cut on what are the least visible sides.
- Align the pattern when applying patterned panels.
- Apply high-quality sealant to ensure long-term durability.
- Keep a steady buffer space to allow growth according to the manufacturer’s requirements.
- Check level repeatedly; small misalignments become very visible on large back panels.
Using Decorative Interior Film as an Alternative
To satisfy the needs of the more design-oriented, high-performance adhesive coverings for kitchen areas can be introduced in place of traditional upstands and back panels, or even supplement them. Decorative interior films will provide you with the ability to repaint surfaces in a short time, with custom value, and excellent splash protection.
One significant benefit that decorative films also have is the fact that with these films, you can apply them directly to old surfaces, eliminating the time to install them, thereby maintaining the performance of the splashback installation tips as it would have.
Discover more kitchen renovation tips
Explore our collection of adhesive wall coverings for kitchen upgrades